


Why Your Lash Extensions Aren't Lasting: 9 Adhesive Mistakes Lash Artists Make
Quick Answer: Poor lash extension retention is almost always caused by one of three prep, application, or sealing errors: insufficient primer use, incorrect adhesive dip technique, or skipping the bonder. Fix the mistake that matches your symptom and retention improves within your next set.
Table of Contents
- Mistake 1: Skipping Primer Entirely
- Mistake 2: Using Too Much Primer
- Mistake 3: Not Letting Primer Fully Dry
- Mistake 4: Dipping Too Deep into the Adhesive
- Mistake 5: Using an Old Adhesive Drop
- Mistake 6: Wrong Room Humidity or Temperature
- Mistake 7: Poor Adhesive Storage
- Mistake 8: Skipping the Bonder
- Mistake 9: Applying Bonder Too Soon or Too Much
- Retention Checklist
- Frequently Asked Questions
Most lash artists troubleshoot retention by switching adhesives. That solves the problem less than 20% of the time. The other 80% of retention issues come from prep errors, technique errors, or sealing errors — the things that happen before and after the glue touches the lash. After 17 years of lashing and training at Beauty Power Studio in San Jose, CA, I've narrowed the most common culprits down to nine specific mistakes. Each one has a clear fix.
Mistake 1: Skipping Primer Entirely

Primer does two things: it removes residual oils, makeup, and protein buildup from the natural lash, and it adjusts the lash's surface pH to sit in the range where cyanoacrylate adhesive bonds fastest and most securely. That optimal pH range is approximately 6.5–7.5. Untreated natural lashes often sit outside this range, particularly on oily-skinned clients or clients who use conditioning serums.
When you skip primer, you're asking the adhesive to cure on an unpredictable surface. The bond forms, but its strength and durability vary widely from lash to lash. The result shows up as inconsistent shedding — some fans last 3 weeks, others fall off in 3 days — which is one of the hardest retention problems to diagnose because the pattern seems random.
Fix: Apply lash primer to every client before lashing, regardless of how clean their lashes appear. One light pass with the micro-brush applicator per lash line is enough. Primer is especially critical for oily clients, clients who use lash serums or conditioning treatments, and anyone who works out regularly.
Mistake 2: Using Too Much Primer
Over-applying primer is as damaging to retention as skipping it. Excess primer leaves a residue layer on the natural lash that hasn't evaporated. When adhesive contacts this wet residue, it reacts with the moisture and begins to shock-cure at the point of contact — forming a weak surface bond rather than a deep molecular bond. The extension sticks but lifts within days.
The tell: clients whose lashes look fine at the 1-week mark but shed heavily by week 2. The surface bond held temporarily, then failed under the normal mechanical stress of sleeping, showering, and rubbing.
Fix: One thin pass per lash line, using a micro-brush or the built-in applicator. After applying, fan the lashes gently or wait 60–90 seconds before you pick up your adhesive. If the primer still looks wet, wait longer. The lash surface should feel slightly tacky, not visibly damp. The Beauty Power alcohol-free primer is formulated to evaporate quickly, which reduces the margin for over-application.
Mistake 3: Not Letting Primer Fully Dry Before Lashing
This is the most common primer mistake because it's invisible in the moment. The primer looks fine, the lashes look clean, and you move straight to your adhesive without waiting. But cyanoacrylate adhesive reacts with any moisture — including primer that hasn't fully evaporated. The reaction produces carbon dioxide microbubbles inside the bond (the "double bubble" or "blooming" effect), which weakens it structurally.
You won't see this under normal lighting during the appointment. The bond appears solid. It fails progressively over the first 7–10 days as the microbubbles cause internal fractures in the adhesive layer.
Fix: Wait a minimum of 60 seconds after primer application before touching the lash with adhesive. In humid environments (60%+ RH), wait 90–120 seconds. Use this window to prep your adhesive drop, check your hygrometer, or fan the client's lashes gently with a lash wand.
Mistake 4: Dipping Too Deep into the Adhesive
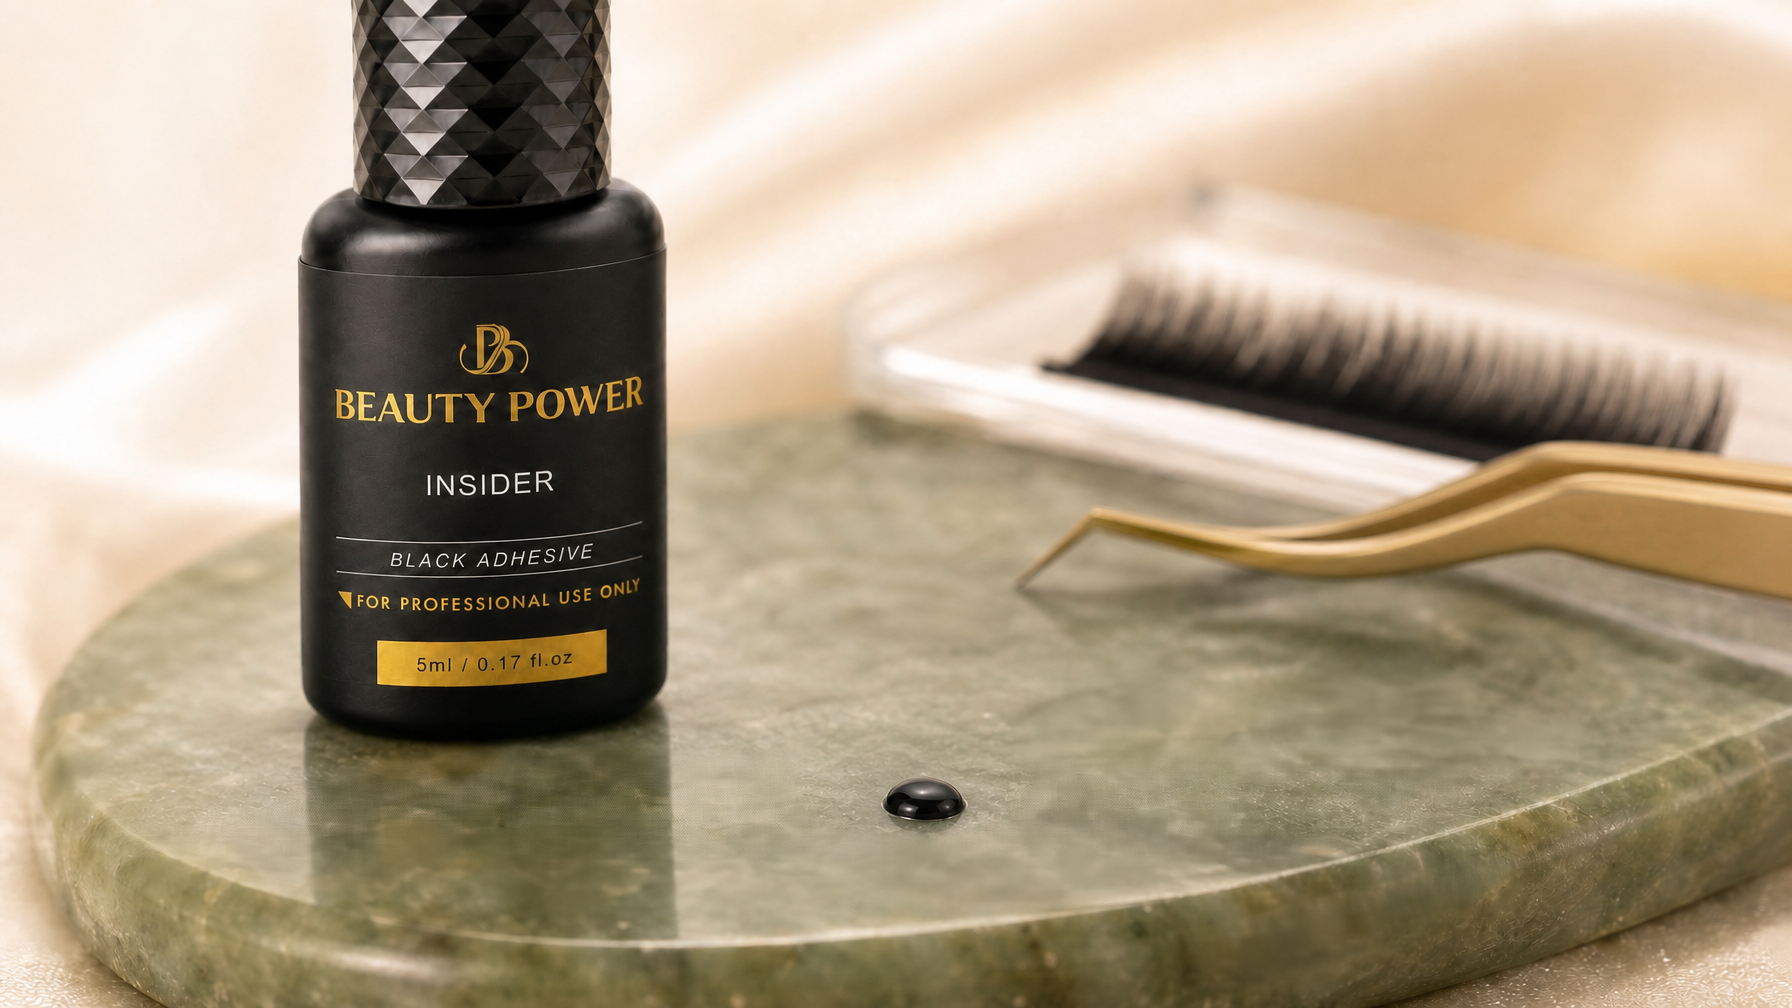
The correct dip depth is 0.5–0.75mm of the lash base. When you dip deeper — even 1.5mm — two problems occur. First, the adhesive coats too much of the extension, climbing up the fiber. Once placed, this excess adhesive wraps around the natural lash and bonds neighboring lashes together, creating stickies. Second, a large adhesive bead can trap the fan in a closed position after placement, eliminating the volume effect entirely.
A fast, aggressive dip also pulls more adhesive than a slow, controlled touch-and-lift. Speed is not your friend at the dip stage. The entire dip motion should take about 1 second: approach slowly, make contact, pull straight out.
Fix: Think of the dip as painting only the very tip of the fan base. Watch for the adhesive bead on the extension after you pull it out — it should look like a thin, even coat on 0.5mm of lash base, with no visible bead and no adhesive climbing the fiber. If you see a glossy bead or wicking up the lash, your dip was too deep or your adhesive is too old on the stone.
Mistake 5: Using an Old Adhesive Drop
Lash adhesive begins to thicken the moment it hits the jade stone or glass plate. Ambient humidity starts to cure the surface of the drop immediately. After 20–25 minutes, the viscosity has changed enough that the adhesive no longer flows correctly onto the extension — instead it grabs too aggressively on contact, creating an uneven bond coat, or it's already partially cured and won't form a strong molecular bond at all.
Signs you're working from a thickened drop: the adhesive strings when you pull the extension away, the dip feels sticky rather than fluid, or extensions start to slide instead of gripping when you place them.
Fix: Set a 20-minute timer at the start of every set. When it goes off, wipe the old drop with a lint-free wipe, dispense a fresh 1–2mm bead, and continue. This is a non-negotiable habit, not a suggestion. The Beauty Power Insider adhesive has a working time of approximately 20 minutes at 50–60% humidity — refresh the drop before that window closes.
Mistake 6: Wrong Room Humidity or Temperature

Cyanoacrylate adhesive cures by reacting with moisture in the air and on the lash surface. Humidity controls how fast that reaction happens. Outside the optimal range, the adhesive either doesn't cure fully (too dry) or cures so fast you can't control placement (too humid).
| Humidity | Effect on Adhesive | What You'll Notice |
|---|---|---|
| Below 35% RH | Cures very slowly or incompletely | Extensions feel loose after set, poor early retention |
| 35–45% RH | Slower than optimal | Longer placement window, but bond is weaker if RH stays low |
| 45–65% RH | Optimal cure speed and bond strength | 1–2 second placement window, strong consistent retention |
| 65–75% RH | Cures faster than optimal | Hard to adjust placement, shock-curing risk |
| Above 75% RH | Shock-cures on contact | Extensions bond to the wrong lash, white blooming visible |
Temperature also matters. Most lash adhesives perform best between 64–77°F (18–25°C). Above 80°F, the adhesive thins and the cure speed increases unpredictably. A cold room slows everything down and extends dry time.
Fix: Mount a digital hygrometer and thermometer at your lash cart. Check it at the start of every appointment. If RH is below 45%, run a small humidifier. If above 65%, run your HVAC or a dehumidifier. Never lash in a room where you can't control the environment.
Mistake 7: Poor Adhesive Storage
Cyanoacrylate adhesive degrades quickly when stored incorrectly. The three main storage errors are: keeping the bottle in a refrigerator (condensation forms inside the tip when you take it out and begins pre-curing the adhesive), storing the bottle horizontally (adhesive pools in the tip and partially cures), and not "burping" the bottle before recapping (air enters the bottle and begins curing the top layer with every use).
A properly stored bottle maintains its viscosity and performance for the duration of its shelf life. Improperly stored adhesive starts degrading within days of opening, producing inconsistent results that feel like a bad batch when the adhesive is actually fine — just mistreated.
Fix:
- Store adhesive upright at room temperature (64–77°F), away from direct sunlight.
- Burp the bottle after every use: squeeze gently to expel air before recapping. This prevents air from entering and starting the cure process inside the bottle.
- Never refrigerate. If you want a cool storage environment, a sealed silica-gel container at room temperature works.
- Discard opened bottles after 4–6 weeks regardless of how much is left. Degraded adhesive never performs like fresh adhesive.
- Wipe the tip clean with a dry lint-free wipe before recapping every time.
Mistake 8: Skipping the Bonder

Bonder (also called super bonder or lash sealant) does something adhesive alone cannot: it completes the curing process at the molecular level, converting any remaining uncured adhesive on the extension base into a fully cross-linked, flexible bond. Without bonder, a small percentage of adhesive on every extension remains partially uncured for up to 24 hours after the set — and during that window it's brittle, moisture-sensitive, and responsible for the sharp "first-day loss" that some clients report.
Skipping bonder is particularly damaging for clients who shower the same evening, hit the gym within 24 hours, or have naturally watery eyes. The partially cured adhesive can't handle the moisture exposure and shatters at the base.
Fix: Apply bonder at the end of every set, after all extensions are placed and you've done a final isolation check. Bonder also significantly reduces cyanoacrylate fumes — which means a more comfortable experience for both you and the client during the sealing phase. Don't skip this step for any client, regardless of how healthy their naturals are or how premium your adhesive is.
Mistake 9: Applying Bonder Too Soon or in Too High a Volume
Bonder applied too early — before the adhesive has had at least 60–90 seconds to begin curing — can interfere with the initial bond formation and cause the extension to loosen. Applying too much bonder creates a white, opaque film at the base of the extensions (blooming) that is visible to the client and cannot be removed without remover.
One drop of bonder goes further than most artists expect. A single drop on a micro-brush is enough to coat an entire eye. Artists who dispense directly onto extensions or use a full saturated brush are over-applying by 3–5x the required volume.
Fix: Wait 90–120 seconds after placing the final extension before applying bonder. Dispense one small drop onto a disposable jade stone, pick up a micro-amount with the tip of a micro-brush, and sweep lightly along the base of the lash line — not the tips of the extensions. The bonder should be invisible once applied. If you see any white residue, you used too much.
Retention Checklist: The Pre-Set, During-Set, and Post-Set Protocol
| Stage | Action | Common Mistake It Prevents |
|---|---|---|
| Pre-set | Check hygrometer — confirm 45–65% RH and 64–77°F | Mistake 6 |
| Pre-set | Apply primer — one thin pass per lash line, wait 60–90s | Mistakes 1, 2, 3 |
| Pre-set | Dispense fresh adhesive drop, set 20-min timer | Mistake 5 |
| During set | Dip 0.5mm only, slow approach and lift | Mistake 4 |
| During set | Refresh adhesive drop every 20 minutes | Mistake 5 |
| Post-set | Wait 90–120s after last extension, then apply bonder | Mistakes 8, 9 |
| Post-set | One micro-drop of bonder, sweep lightly at lash base only | Mistake 9 |
| After set | Burp adhesive bottle, wipe tip, store upright | Mistake 7 |
Frequently Asked Questions
Why do my lash extensions fall off within the first 2–3 days?
Early shedding in the first 2–3 days almost always points to a prep or sealing error. Check Mistakes 1–3 (primer issues) and Mistake 8 (bonder). Partially cured adhesive is extremely vulnerable to moisture in the first 24 hours. If the client showered or worked out the same evening without bonder applied, that's the most likely cause.
Does primer really make a difference if I do a thorough lash bath?
Yes. A lash bath removes visible debris and surface oils, but it doesn't adjust the pH of the lash surface. Primer does both — it removes residual oils and conditions the lash surface to the pH range where your adhesive bonds most effectively. They serve different purposes and should both be used.
How do I know if my adhesive has gone bad?
Signs of degraded adhesive: stringy texture when pulled from the drop, grayish or cloudy appearance instead of clear black, takes longer than usual to cure, or extensions slide instead of gripping on placement. If you notice any of these, discard the bottle. Degraded adhesive cannot be saved or fixed by adjusting humidity.
Can I use any bonder with my current adhesive?
Most professional bonders are compatible with all cyanoacrylate lash adhesives, but check the manufacturer's specifications before using an unfamiliar combination. Bonders work by completing the cyanoacrylate cure reaction — the chemistry is universal, but some formulations can cause blooming if the adhesive's base monomer is different from what the bonder was tested with.
My retention is perfect in winter but poor in summer. What's happening?
This is a classic humidity shift problem. Summer brings higher ambient humidity, which speeds up adhesive cure time and shortens your placement window. In summer conditions, you may need to switch to a slower-cure adhesive formulation, lower your dip time, or actively dehumidify your workspace. The fix isn't a new adhesive — it's environmental control. See Mistake 6.
Should I apply primer to clients who get lash lifts instead of extensions?
No. Primer for lash extensions is formulated for cyanoacrylate adhesive bonding. It's not appropriate for lash lift chemistry. Lash lift products use a different pH environment and their own prep protocol. Using extension primer on a lift client can interfere with the lift solution's performance.
What's the difference between a bonder and a sealant/topcoat?
A bonder (super bonder) chemically completes the adhesive cure by cross-linking uncured monomer — it works at the molecular level and is applied right after the set. A sealant or topcoat is a coating applied over cured adhesive to protect it from oils and moisture — it doesn't change the adhesive chemistry. Some products do both. A bonder is the more important of the two for retention; a sealant extends the life of a healthy set.
Is it normal for lashes to shed more in the first week of a new adhesive?
Yes, but only if the new adhesive has a significantly different cure speed than what you were using. Any time you switch adhesives, do your first set in a controlled humidity environment and track the dip-to-placement window carefully. Most artists need 2–3 sets to calibrate their technique to a new adhesive's behavior. If shedding continues past week one, the issue is technique, not the adhesive itself.
Your Adhesive Kit
- Beauty Power Lash Primer — Alcohol-Free — pH-balancing, fast-evaporating, safe for sensitive clients
- Lash Extension Adhesive Insider 5ml — 0.3s Dry — professional-grade cyanoacrylate, optimal for 45–65% RH
- Fiber Tip Curved Volume Tweezers - Jupiter — for precision dips and fan placement
- Fiber Tip Isolation Tweezers - Saturn — clean isolation to prevent stickies during adhesive work
Browse the full professional lash extension range at beautypower.pro/collections/lash-extensions. Available on Amazon and on our website: https://beautypower.pro
Related Reading:
- Lash Extension Adhesive: The Expert Guide to Long-Lasting Retention (2026)
- How to Make Volume Lash Fans (2026 Step-by-Step Guide)
- Classic vs Volume Lash Extensions: Which Style Is Right for You? (2026)
Viktoryia Tsishko is a licensed esthetician with 17 years of professional experience and the founder of Beauty Power. She has trained 30,000+ beauty professionals worldwide and developed Beauty Power's full line of professional-grade tools used by 1,000,000+ customers. Her tools earned the Allure Best of Beauty 2025 Award. Viktoryia also runs Beauty Power Studio in San Jose, CA, specializing in lash extensions and brow services.